Sometimes, the biggest obstacle in visual effects isn’t the technical execution, it’s the logistics.
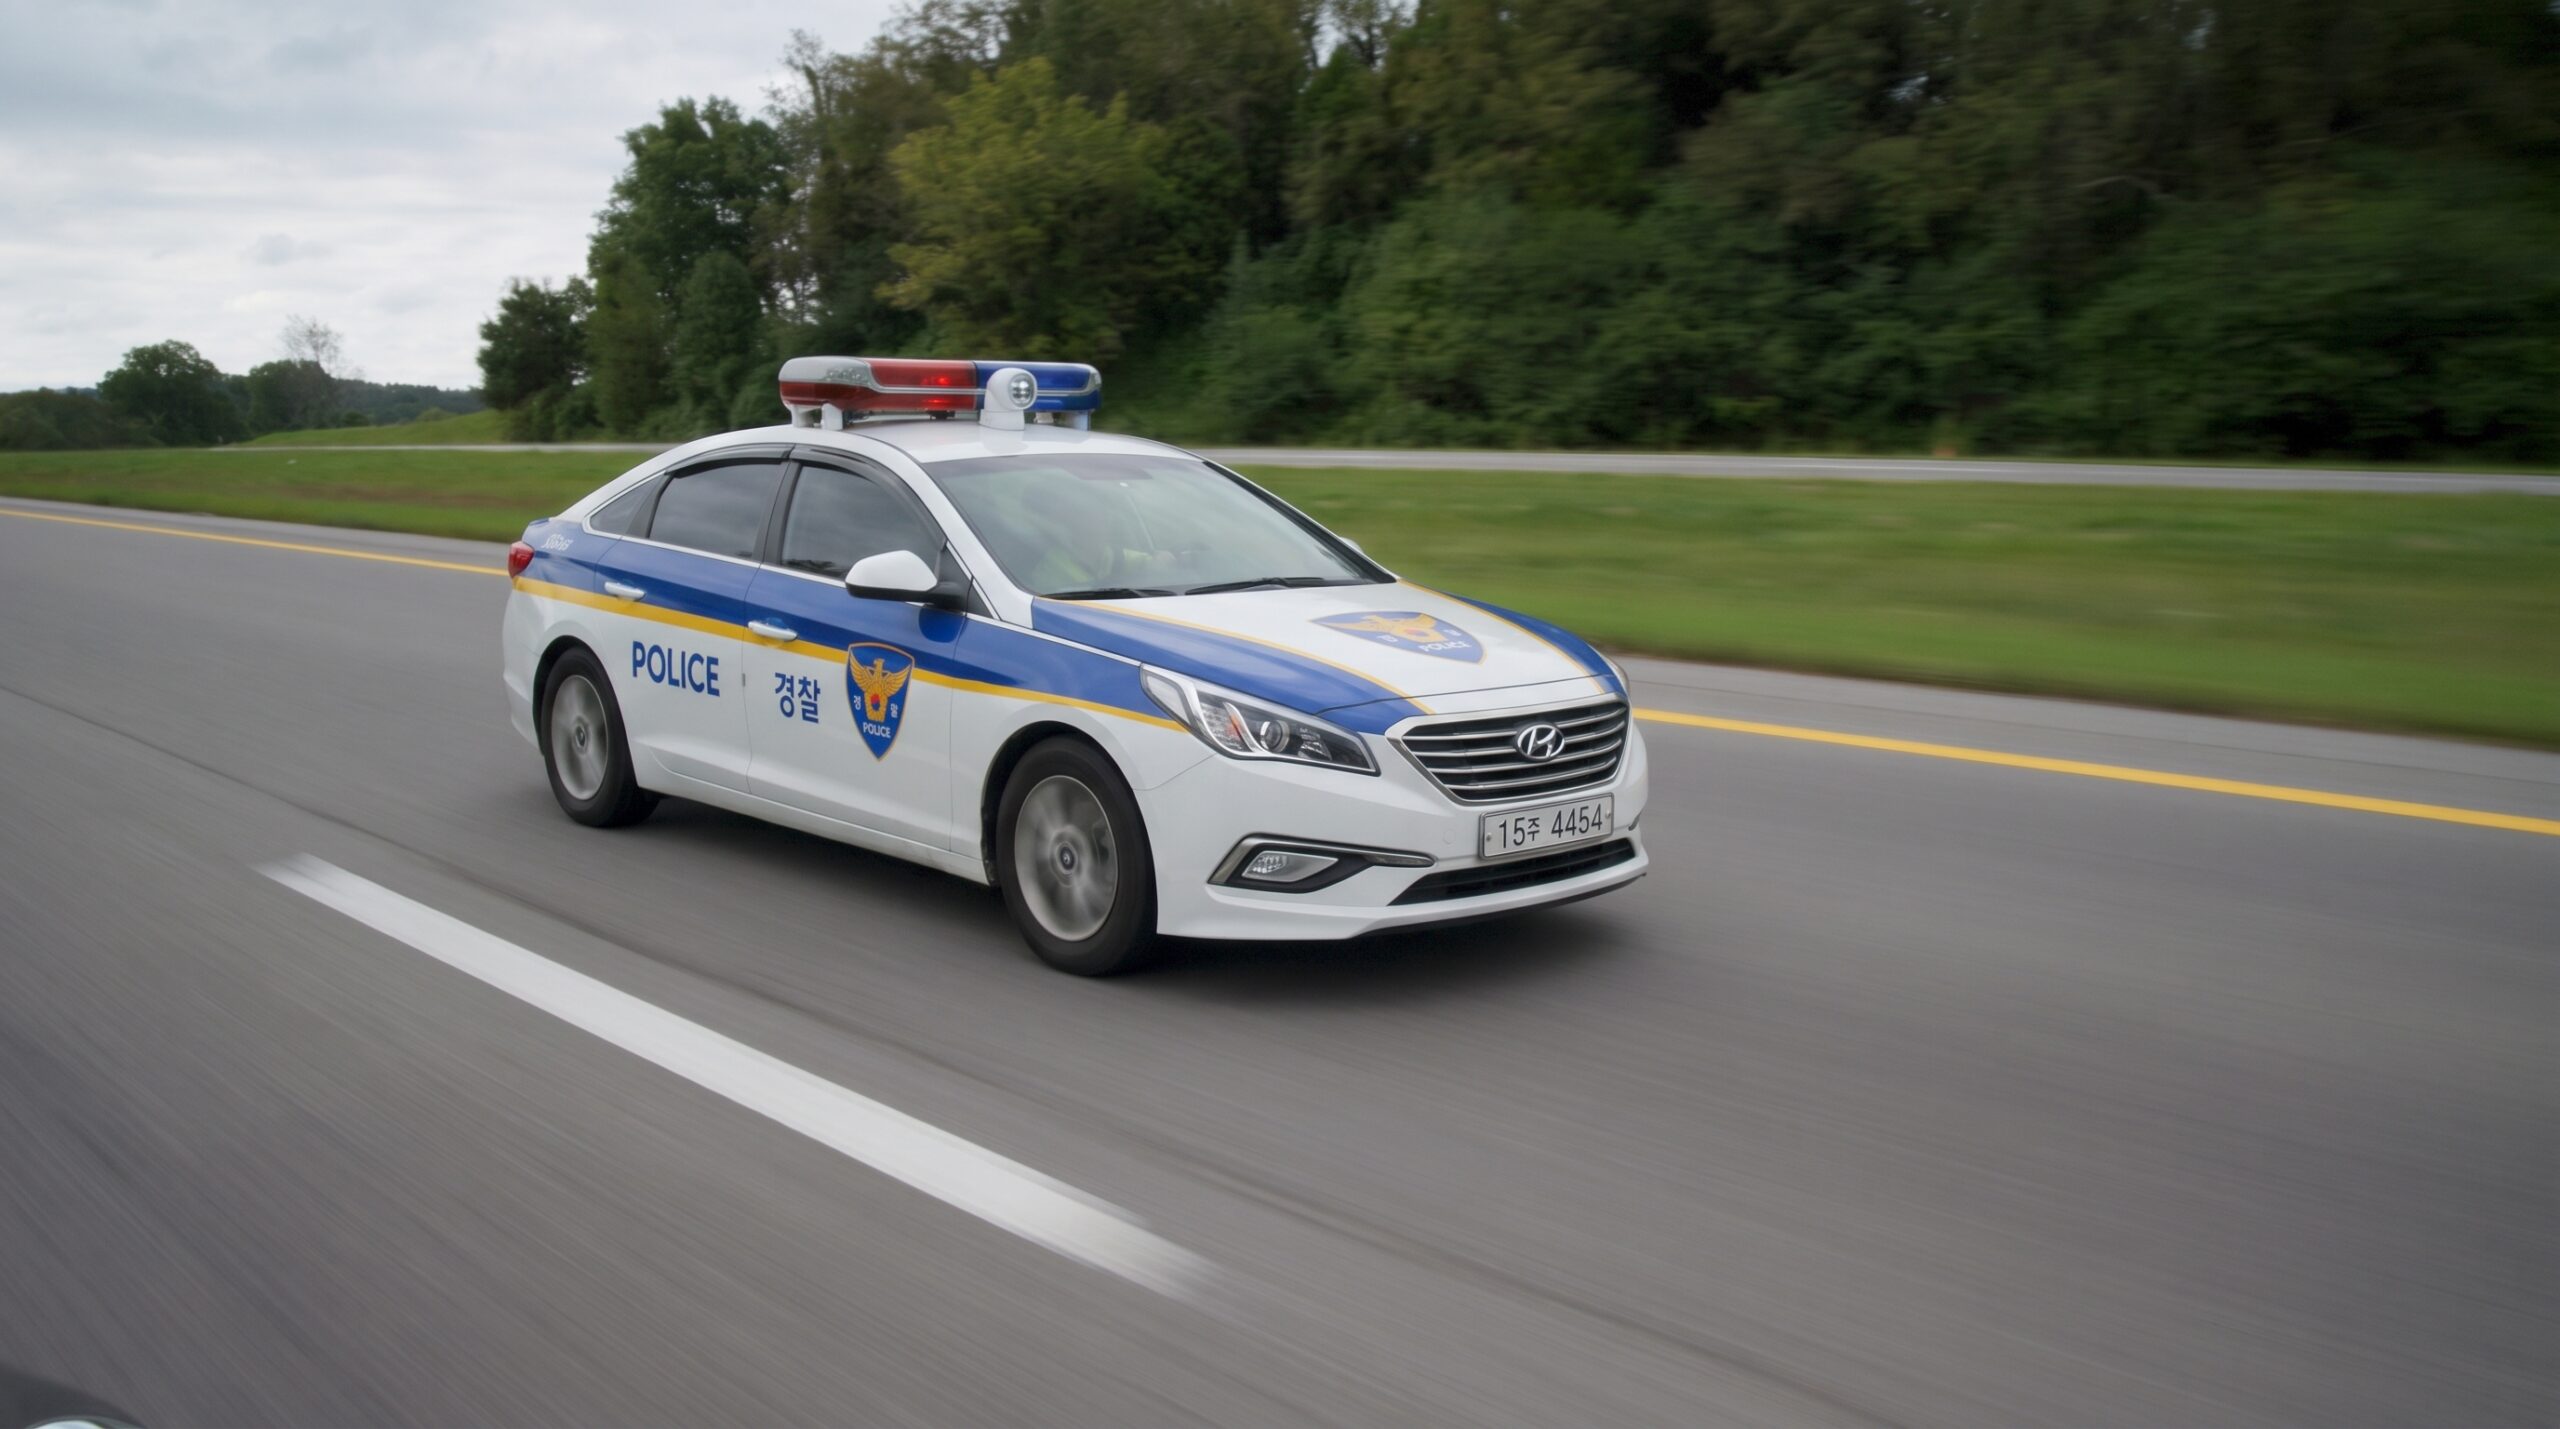
Imagine getting a brief that calls for a high-speed pursuit on a quiet stretch of highway, complete with a Korean police cruiser hot on the tail of a getaway car. The traditional route? Applying for permits to shut down a local road, finding a prop Korean police vehicle to rent, hiring stunt drivers, and navigating a mountain of red tape just to make sure you don’t break any major traffic laws.
Instead of dealing with that logistical nightmare, I decided to build the entire sequence in post using a hybrid workflow of traditional After Effects pre-vis and AI video generation. Here is a breakdown of my process.
Step 1: The Raw Plate and Asset Generation
I started with a simple, smooth tracking shot of an empty road.
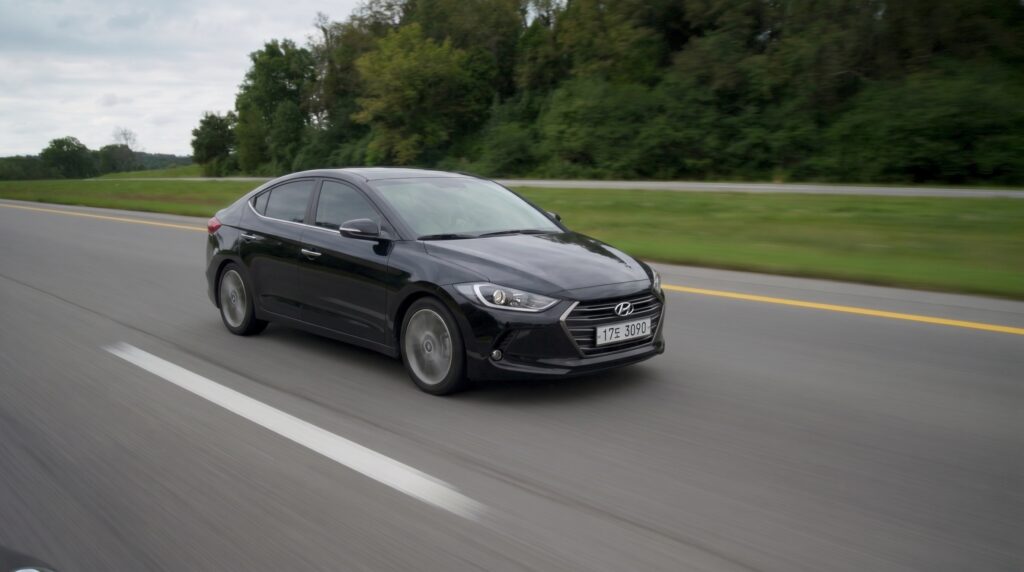
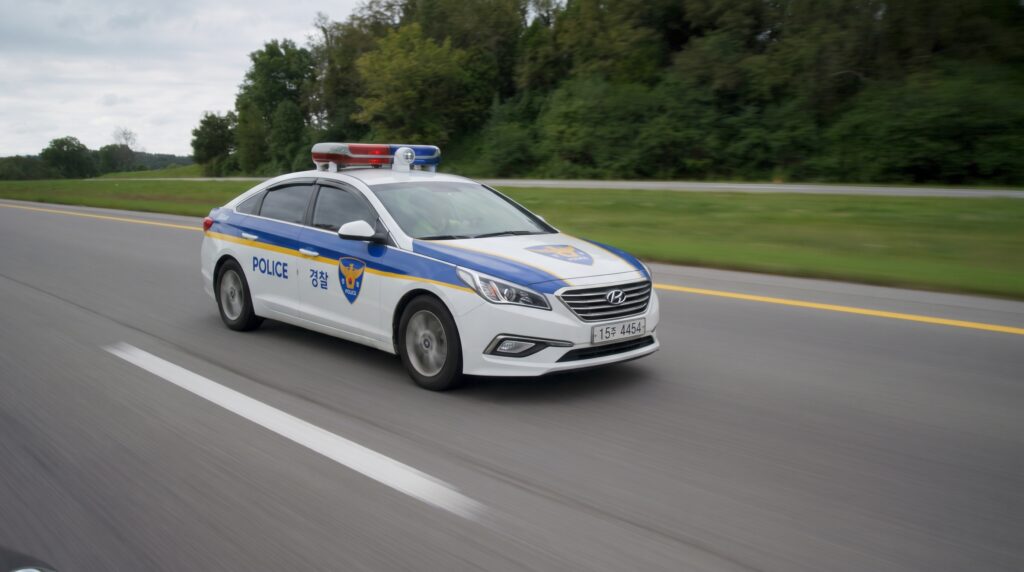
Next, I needed my vehicles. I sourced reference photos online for a standard black sedan and a Korean police car. To get these cars sitting correctly in the environment before generating the video, I used nano banana pro. I took one frame of the raw road footage and fed it into the AI along with the car photos, using this specific prompt:
“Place the police car on the road, travelling from left to right of the frame. Make sure the size proportion of the car to the road is correct and logical. Make sure the car plate and text are clear.”
I repeated this process for both cars until I had two clean, properly proportioned still images of the vehicles sitting exactly where I wanted them on the road.
Step 2: Old School Blocking in After Effects
AI video generators are powerful, but they often lack spatial awareness and timing unless you guide them. To fix this, I jumped into After Effects.
I loaded up the raw video footage and used the two AI-generated still images as a size reference. I then created simple 3D geometry in AE: a black cube to represent the getaway car, and a blue cube for the police cruiser. I animated these cubes flying down the empty road, matching the exact speed, scale, and trajectory I wanted for the final shot.
This gave me a flawless reference video to feed back into the AI.
Step 3: Bringing it to Life with Kling 3.0 Omni
With my AE reference video and the two car images ready, I moved over to Kling 3.0 Omni. The goal was to have Kling look at the animated cubes and replace them with the photorealistic cars, while adding all the environmental effects.
Here was the prompt I used:
“Use Video as a reference. Replace the black cube with the black car in Image 1 and replace the blue cube with the police car in Image 2. Police lights flashing as the police car drives by. Heavy motion blur.”
After tweaking and refining the prompt twice, the output was incredibly solid. The AI nailed the heavy motion blur, the flashing police lights, and the raw speed of the pursuit.
The Catch: The Missing Seed Number
While the final result looked great, this workflow highlighted a significant limitation with current web-based AI tools.
I wanted to generate that exact same successful result again at a higher resolution. However, because the web UI for Kling doesn’t allow you to lock in or input a specific seed number, I couldn’t reproduce the exact same generation. I was entirely at the mercy of the random noise generation.
It is a great lesson in the current state of AI video tools: they can save you from a logistical nightmare and produce amazing results, but the lack of granular control, like seed retention, means you have to be ready to adapt when upscaling or revising shots.
