
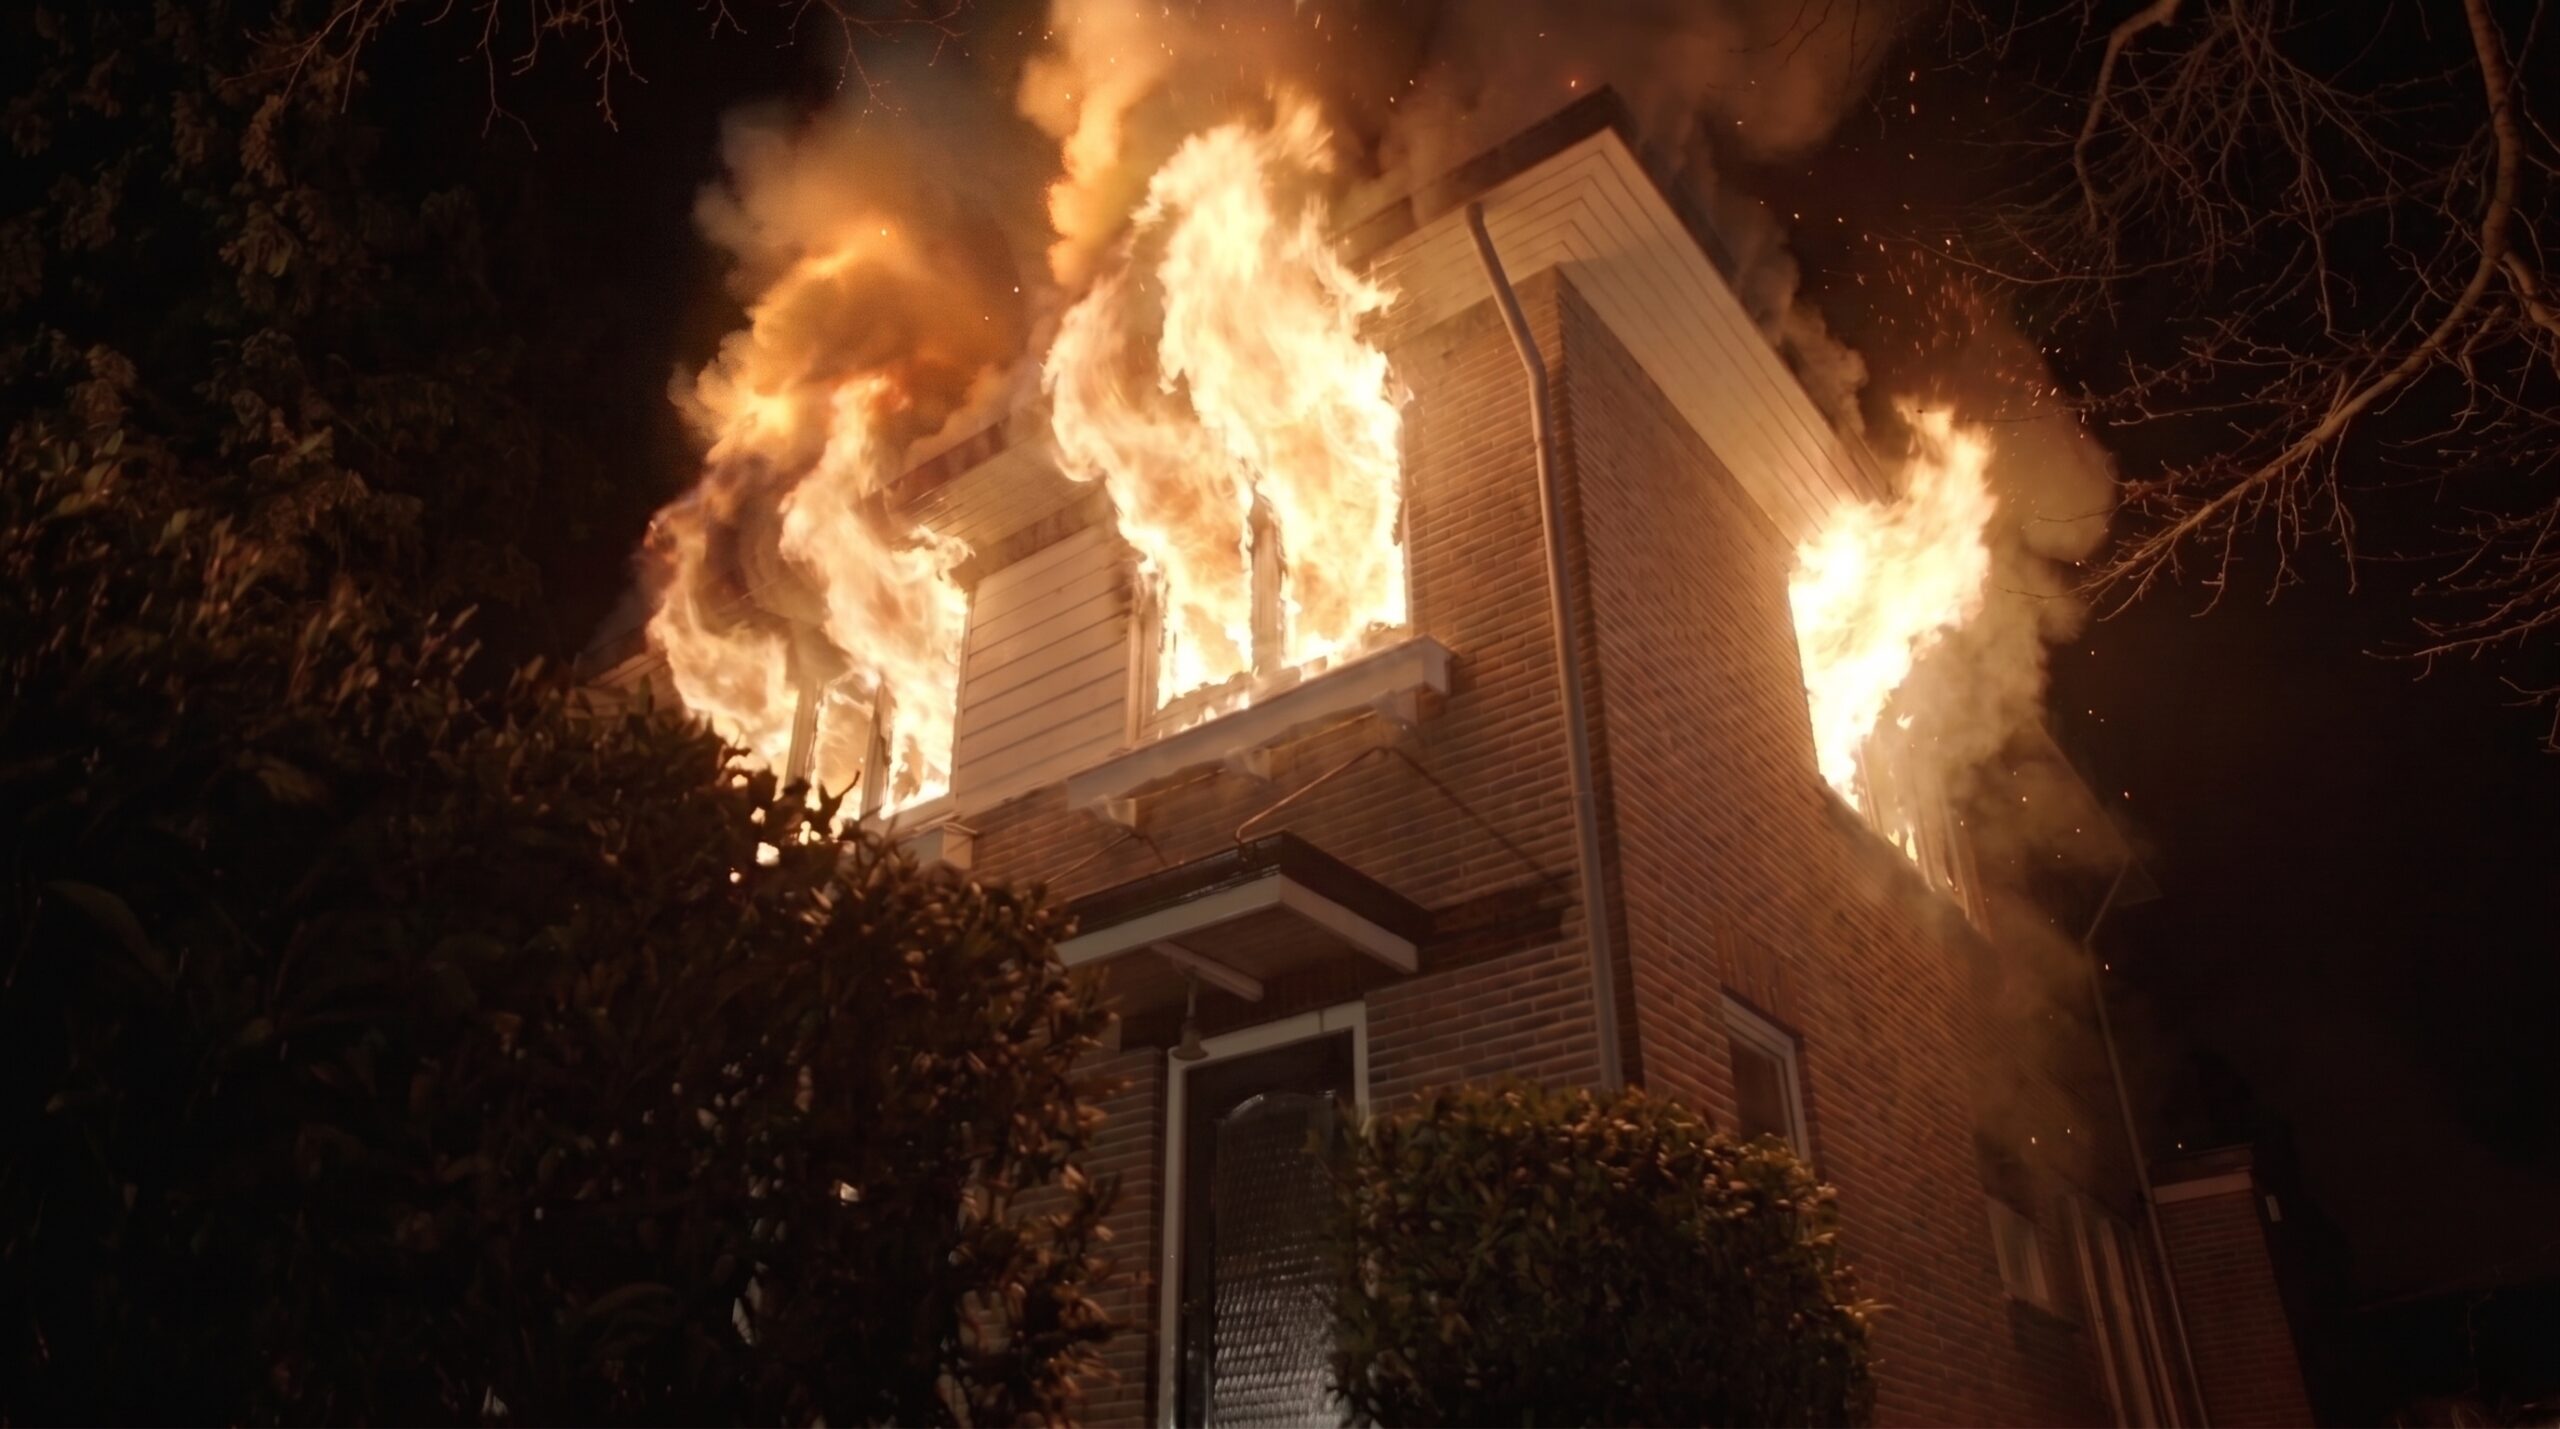
Adding realistic fire to a raw plate is always a challenge. But doing it to a night shot? That is a whole different beast. You aren’t just compositing flames; you have to worry about how that intense, flickering light interacts with the surrounding environment: the brick walls, the dark foliage, and the smoke itself.
If the relighting looks off, the entire illusion breaks instantly.
I recently put this to the test using my go-to workflow (the same one I used for the USS Missouri project), and the results proved that you don’t need a massive 3D pipeline to get Hollywood-grade night relighting. You just need a bulletproof formula: Good First Frame (FF) + Reference Video = Killer Output.
Here is exactly how I did it.
The Workflow Breakdown
Step 1: Prep in After Effects
Before touching any AI tools, you need a clean slate.
- Import the raw night footage of the house into After Effects.
- Find the perfect starting frame and export it as a high-quality PNG. This will serve as our canvas.
Step 2: Crafting the Perfect First Frame (The Nano Banana Phase)
I took that high-quality PNG into Nano Banana to paint in the fire. To test my level of control, I decided to keep the fire contained to just the second floor rather than engulfing the whole house.
It took three targeted prompt iterations to get it right:
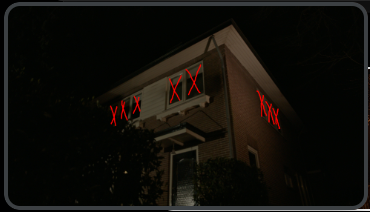
- Iteration 1 (Setting the scene): I marked the second-floor windows with a red “X” and prompted:”Blazing fire extruding out of the windows marked by red X. Fire source from inside the house. Broken windows. Soot. Smoke.”
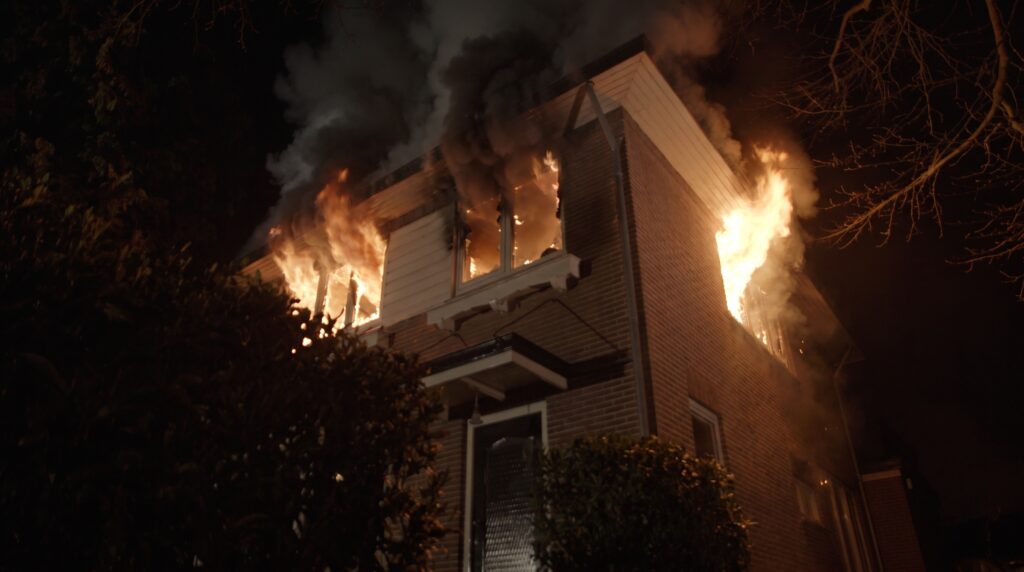
- Iteration 2 (Refining the flames):“Blazing fire extruding from windows marked X.”
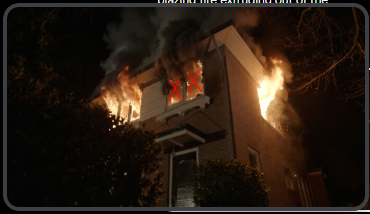
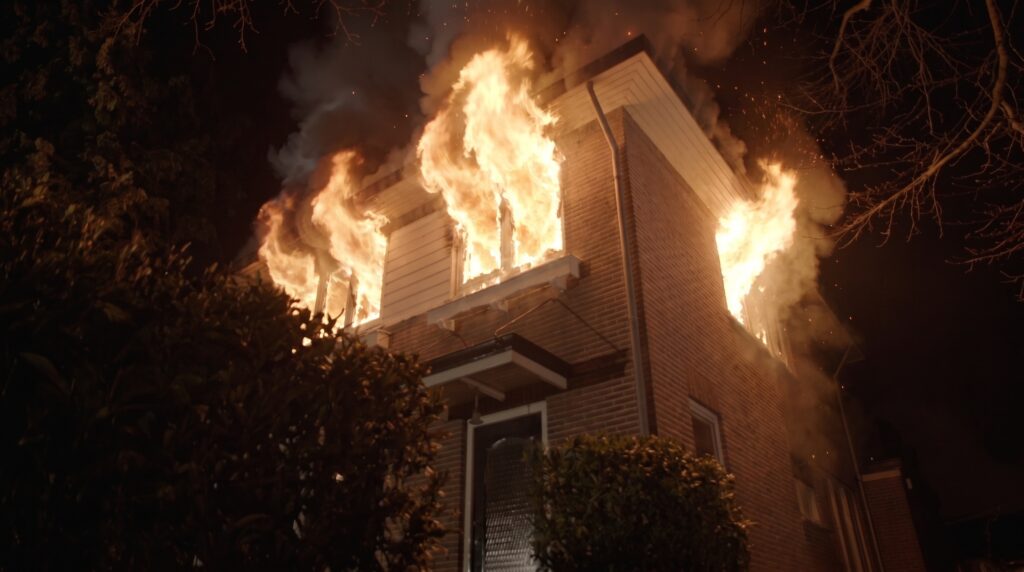
- Iteration 3 (Fixing the lighting): The smoke was looking a bit disconnected from the light source, so I circled the smoke area in red and prompted:”Change smoke color circled in red to match the light from the fire.”
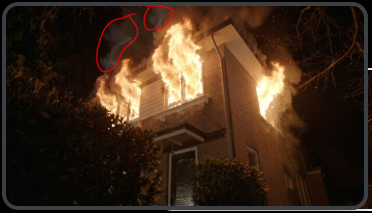
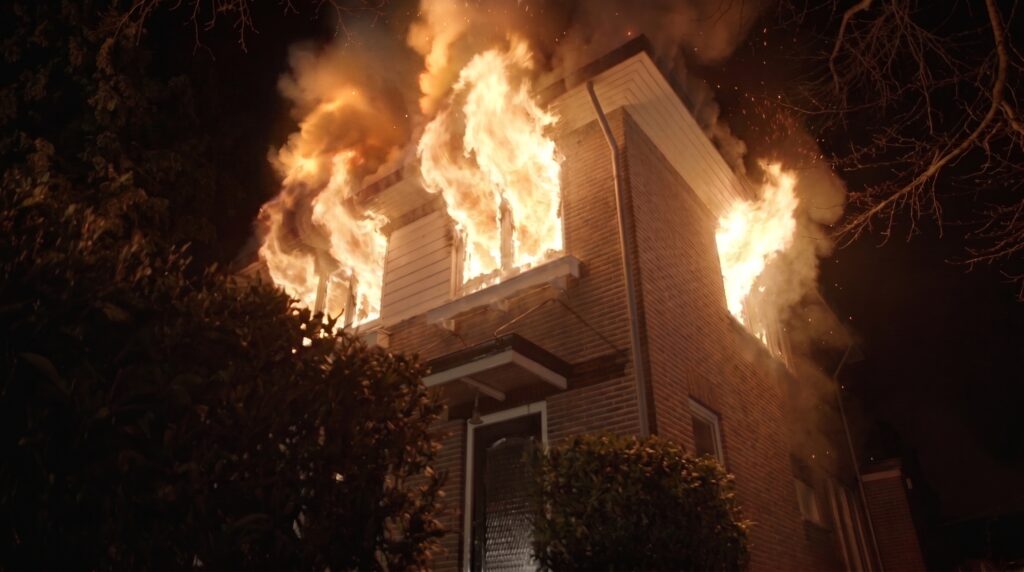
With that third tweak, the lighting locked into place. I had a gorgeous, high-contrast, perfectly lit static first frame.
Step 3: Bringing It to Life in Kling
Next, I brought the newly minted first frame and the original raw reference video over to Kling AI (using the Kling Omni model).
Using the reference video to guide the camera motion and general structure, I used the following prompt to let Kling know exactly how the physics of the fire and light should behave:
Kling Prompt:
“Reimagine @Video as a realistic house fire burning through second-story windows. Flames are slowly spreading and getting stronger. Thick black-grey smoke billowing upward, denser near the base, thinning as it rises. Flame light flickering and casting moving warm light onto the brick wall and nearby foliage. Subtle heat haze distortion near the flame edges. Night time, high contrast between fire and darkness. Use @Image as the exact first frame.”
The Verdict: Why This Workflow Wins
I’ll admit, I was skeptical at first. Running a dark night scene through Nano Banana, manually painting in fire, and expecting the AI to realistically relight the environment seemed like a big ask. I assumed it might look flat or pasted-on.
I was completely wrong.
The final output from Kling was incredibly seamless:
- Natural Motion: The flames didn’t just loop; they danced, spread slowly, and even animated realistically around the small window panes.
- Dynamic Relighting: The flickering orange glow cast beautifully onto the brick facade of the house and the surrounding dark foliage.
- Atmospheric Depth: The heat haze and the gradient of the rising smoke perfectly blended the simulated elements with the real-world plate.
If you are hesitant to try complex nighttime FX composites with generative video, don’t be. Spend the extra time dialing in your First Frame first. If the lighting is painted correctly on frame one, the video model will do the heavy lifting to keep those physics consistent.
